YouTube channel for business: what is it for, how to create and promote
More than a billion videos are viewed by YouTube users every day. However, only 9% of small businesses have their own Youtube channels. As YouTube continues to grow in popularity, the opportunities for businesses to tap into the successful brands on the YouTube platform only increase.
In this article, I’ll show you how to create a fully optimized YouTube channel for your business, and how to create enticing video content to attract new viewers and customers. A YouTube channel will help you showcase your brand identity, products, and reach your target audience through video content.
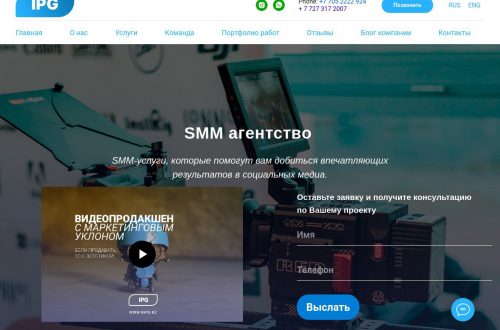
Also you can buy youtube subscribers fast via https://top4smm.com.
How to create a YouTube channel right now
To create a YouTube channel, you need to sign in to the Google account that you will be using to manage the channel — preferably a branded Google account. But creating a YouTube channel is only half the battle. It is more important to decide on its direction and content strategy.
Step 1: create a channel
After you visit YouTube, you will see your Google Account icon in the upper right corner.
Click on it, and then a menu will pop up where you need to select «Create channel».
After that you will have a pop-up window that asks you exactly how you want to name your channel. Here you have to choose whether your channel will be named after you or you will come up with a different name.
Step 2: Title
If you decide to run your own video blog, it is best to name the channel after you.
If you have already decided to name your channel differently, what name should you choose? There are some simple but good tips:
1. If this is your video blog, but you do not want to call it corny, then you can call it by your nickname.
2. You can use the name of the company, company or brand name for the corporate channel.
3. You can also use a keyword written in Latin. For example, for a construction company, you can use the name stroitrlstvo.domov.
After such simple manipulations, you can think about the appearance of your channel.
Step 3: Avatar for your channel
To make your viewers like the channel, you need to upload an avatar. This is what YouTube asks you after you come up with a channel name.
In order to change the avatar of your channel, you just need to click on the «Upload photo» button (in the English version «Upload picture»).
After you click on this button, you will have a library of your computer, where you can select the picture you need.
You should use either your photo, or a stylized illustration, or a brand / company logo as the channel’s avatar.
Step 4: channel header
Next, we will work on the beautiful design of your channel. To do this, you need to click the «Customize channel view» button.
After that, a window will pop up, where you will need to click the «Add channel design» button.
The profile header can be any picture or photo that you create yourself or choose from the YouTube gallery. The recommended photo size is 2048×1152 pixels.
I chose the default. But it is better to use the profile header as an area where your channel will be described or some kind of offer will be posted if it is a commercial channel.
Step 5: page layout
Now let’s move on to the page layout settings. To do this, click on the gear on the same page where you changed the channel header.
The main thing is to enable the «Browse» option. Thanks to this, the channel will have tabs: home, video, playlists, channels and about the channel.
Step 6: Description
In the section «About the channel», you can place a description of the channel, e-mail for commercial inquiries, links to sites or social networks.
Step 7: open or closed channel?
If you need to restrict access to videos posted on the channel, then you can make this video private or inaccessible via the link. For example, if you want to open access only to those who have paid for a subscription, bought a course or one video of a certain lesson.
1. Go to the channel page and go to the «YouTube Creative Studio»
2. There we go to the «Video» section.
By opening this section you can see all the videos you have uploaded. You need to select exactly the video to which you want to restrict access.
After that you need to click on the «Access Options» column.
Now you need to change the parameters to limited access or access by link. In the same way, you can restrict access to various videos and playlists.